Installation & Activation
Let's get Nitrol PRO installed and running on your WordPress site - it only takes a couple of minutes.
#Installation
Download the
.zipfile from your CodeCanyon downloads pageIn WordPress, go to Plugins > Add New > Upload Plugin
Select the downloaded
.zipfile and click Install NowClick Activate
The plugin appears in the WordPress admin sidebar as Nitrol PRO.
Make sure you download the installable WordPress file only (not the full package with documentation). The installable file is the inner .zip that contains only the plugin files.
#License Activation
On first visit, the admin panel is locked to the Activation page. All other menu items are disabled until you activate your license.
Click Activate with Envato
Log in with your Envato account in the popup window
Confirm the activation
The page reloads automatically and all features unlock.
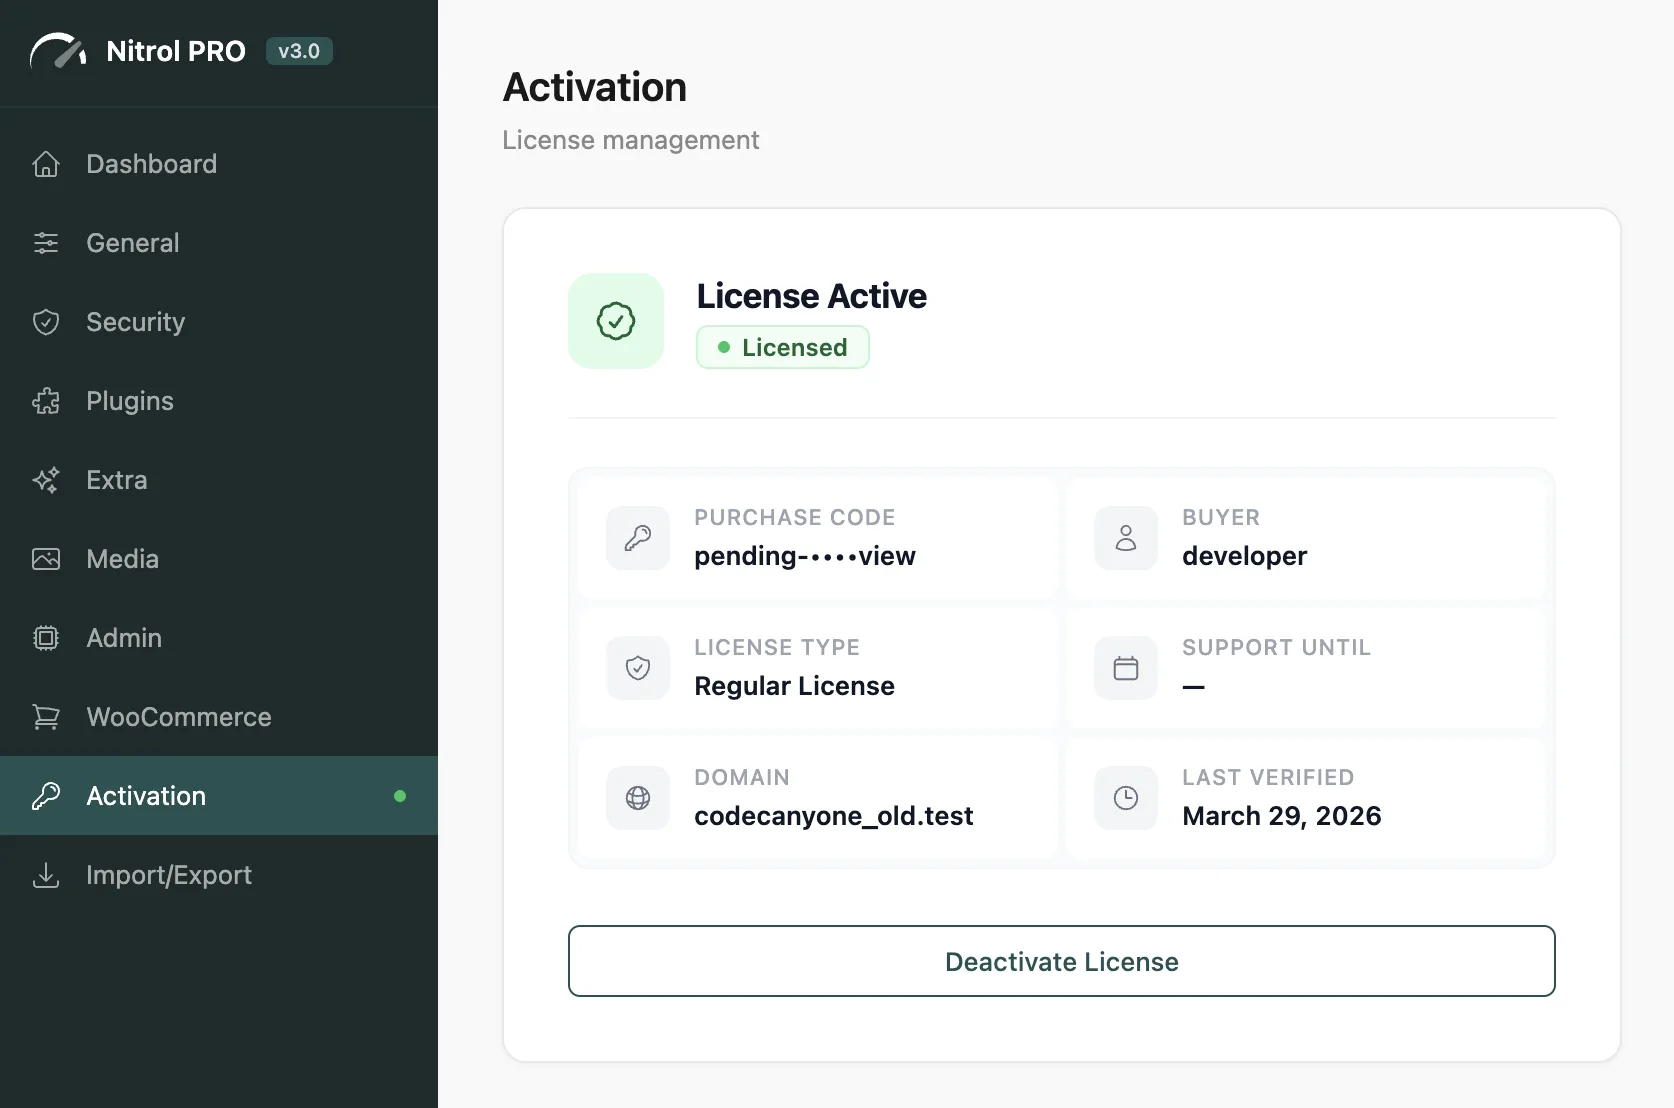
Your license is tied to one domain at a time. To move Nitrol PRO to a different site, click Deactivate License on the current site first, then activate on the new domain.
#Updating
With an active license, updates appear in Dashboard > Updates like any other plugin. Click Update Now to install the latest version.
You can also check the current installed version in the Nitrol PRO sidebar footer.
Nitrol PRO checks for updates automatically in the background. You'll see an update badge in the Plugins list when a new version is available - no need to check manually.
Last updated
Was this article helpful?

On this page