
Demo Content Import
The fastest way to get started with Monogram is to import the demo content. This sets up your site to look exactly like the theme preview, giving you a complete foundation to customize.
#What Gets Imported
The demo import includes:
Content | Description |
|---|---|
Pages | All demo pages built with Elementor (Home, About, Contact, Portfolio, Blog, etc.) |
Portfolio items | Sample portfolio projects with images, galleries, and metadata |
Blog posts | Sample blog posts with featured images |
FAQ items | Sample frequently asked questions |
Widgets | Sidebar and footer widget configurations |
Menus | Primary and secondary navigation menus with all items |
Customizer settings | All Kirki Customizer options (colors, typography, layout, features) |
Elementor settings | Elementor global styles, colors, and typography |
AddToAny settings | Social sharing button configuration (if AddToAny is active) |
#Prerequisites
Before importing, make sure:
- The Monogram theme is installed and activated.
- All required plugins are installed and activated (JKDEVKIT, ACF PRO, Kirki, Elementor).
- The One Click Demo Import plugin is installed and activated (listed as recommended in the TGMPA installer).
- Your server PHP max execution time is at least 120 seconds (300 recommended). See Server Requirements.
- Your server PHP memory limit is at least 256 MB.
Importing demo content on a site that already has content will add to your existing content - it does not replace it. For the cleanest result, run the import on a fresh WordPress installation.
#Import Steps
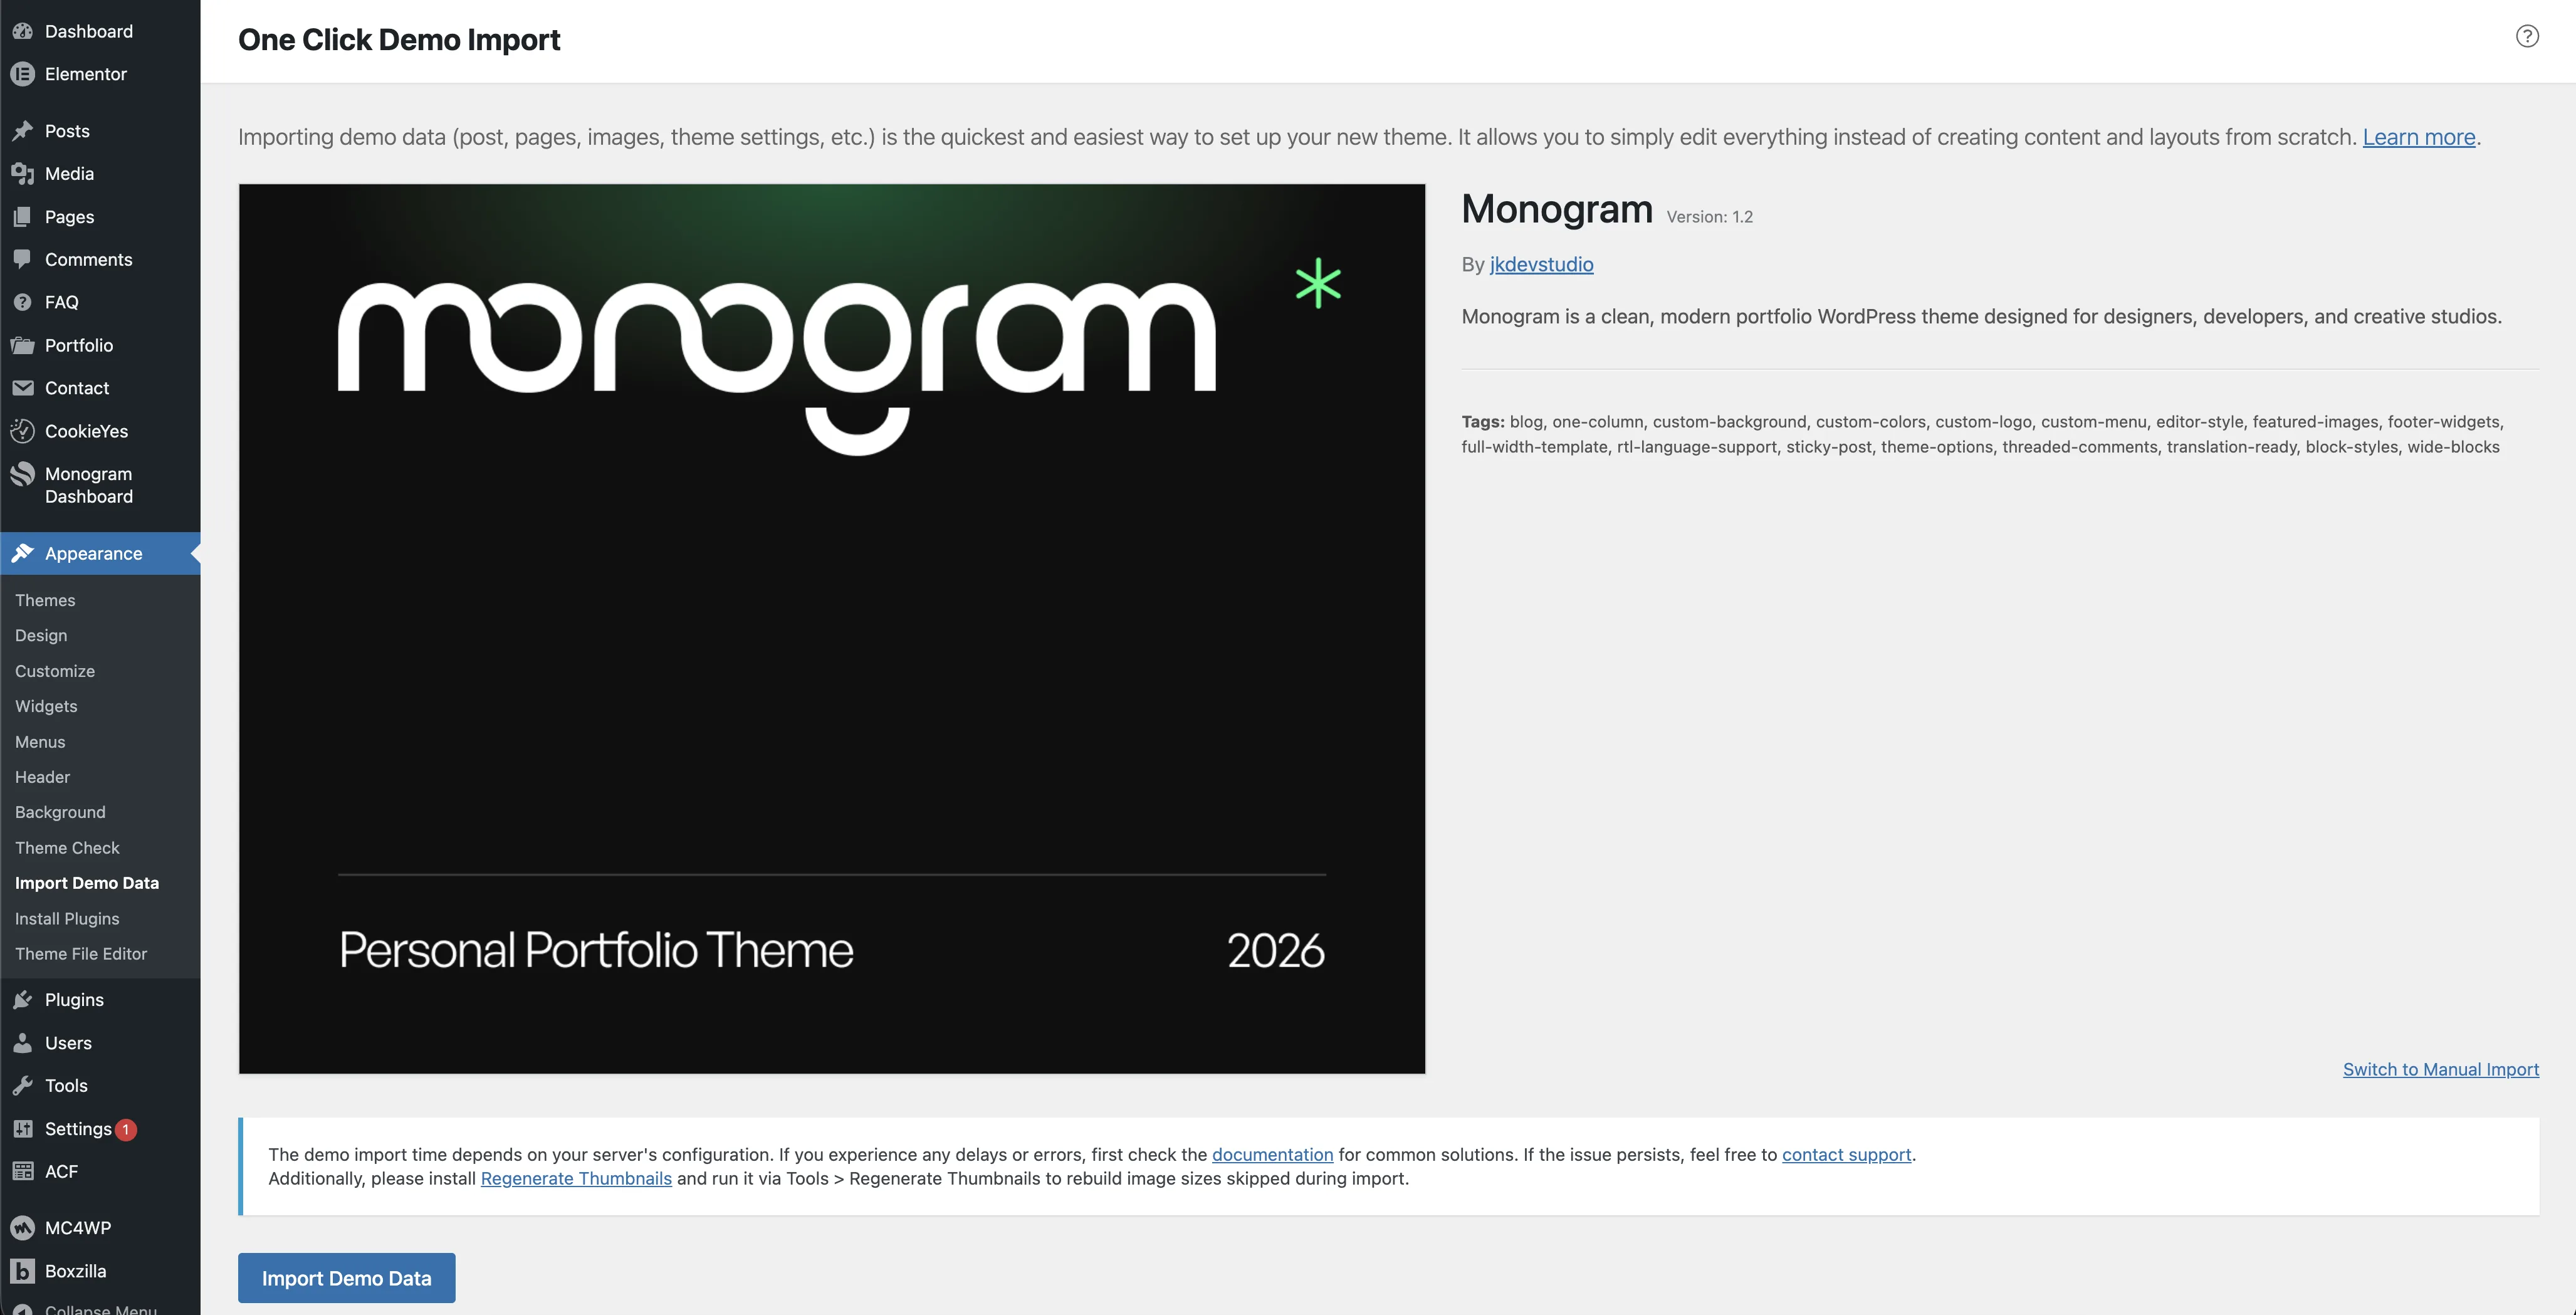
- Go to Dashboard > Appearance > Import Demo Data (this menu item appears when One Click Demo Import is active).
- You will see the available demo import option. Click the Import button.
- A confirmation dialog appears. Click Yes, import! to proceed.
- Wait for the import to complete. This typically takes 2-5 minutes depending on your server speed. Do not close the browser tab or navigate away during the import.
- Once complete, you will see a success message.
#What Happens After Import
The demo import automatically configures:
- Front page - Sets the imported Home page as your static front page (Settings > Reading).
- Blog page - Sets the imported Blog page as your posts page.
- Navigation menus - Assigns imported menus to the theme menu locations.
- Permalinks - Sets the permalink structure to
/%postname%/(Post name).
You can start customizing immediately after the import finishes.
#Import Duration
Expected import times based on server performance:
Server Type | Expected Duration |
|---|---|
Shared hosting | 3-5 minutes |
VPS / Dedicated | 1-3 minutes |
Local development (MAMP, Local) | 1-2 minutes |
The import includes downloading and processing images, which is the most time-consuming part. Faster servers and better network connections reduce the import time.
#Troubleshooting
#Import times out or fails partway through
- Increase your PHP
max_execution_timeto 300 seconds. - Increase your PHP
memory_limitto 256 MB or higher. - Some shared hosts aggressively limit execution time. Contact your host to increase limits, or try the import on a local development environment first.
#Missing images after import
- Images may fail to download if your server cannot make outgoing HTTP requests. Ensure the
curlPHP extension is enabled. - Try running the import again - One Click Demo Import can resume partially completed imports.
#Pages look different from the demo preview
- Make sure Elementor is active. Pages are built with Elementor and will not render correctly without it.
- Clear any caching plugins after import.
- Regenerate thumbnails using the Regenerate Thumbnails plugin (see Thumbnail Regeneration).
#Elementor styles are missing
- Go to Elementor > Tools > Replace URL if you see broken references.
- Go to Elementor > Tools > Regenerate CSS to rebuild Elementor stylesheets.
For additional troubleshooting, visit the Demo Import Troubleshooting guide.
#Next Steps
After importing the demo content, review the Initial Configuration guide to fine-tune your site settings.
Last updated
Was this article helpful?

Resources
On this page